npm
npm 全称为 Node Package Manager,即 Node.js 包管理器。是 Node.js 默认的包管理工具。安装 Node.js 时会自动安装 npm,无需手动再安装。
1. 初始化项目
在项目根目录下执行 npm init 命令,npm 会根据我们的输入生成一个 package.json 文件,这个文件中包含了项目的基本信息,例如项目名称、版本、作者、依赖包等。
npm init
执行 npm init 后会询问项目信息
This utility will walk you through creating a package.json file.
It only covers the most common items, and tries to guess sensible defaults.

See `npm help init` for definitive documentation on these fields
and exactly what they do.

Use `npm install <pkg>` afterwards to install a package and
save it as a dependency in the package.json file.

Press ^C at any time to quit.
package name: (nodejs-test)
version: (1.0.0)
description:
entry point: (index.js)
test command:
git repository:
keywords:
author:
license: (ISC)
上面的输出中,“Press ^C at any time to quit.”后面每一行都是一个问题,我们可以根据自己的需要回答这些问题,也可以直接回车使用默认值。
- package name: 项目名称
- version: 项目版本
- description: 项目描述
- entry point: 项目入口文件
- test command: 测试命令
- git repository: git 仓库地址
- keywords: 关键字
- author: 作者
- license: 许可证
- Is this OK? (yes): 是否确认,输入 yes 回车或者直接回车确认

上面询问"Is this OK?"回车后会在项目根目录下生成 package.json 文件,默认内容如下
{
  "name": "nodejs-test",
  "version": "1.0.0",
  "description": "",
  "main": "index.js",
  "scripts": {
    "test": "echo \"Error: no test specified\" && exit 1"
  },
  "author": "",
  "license": "ISC"
}
更多关于 package.json 的内容可以参考 Node.js 项目结构。
2. 安装依赖包
项目初始化以后就可以使用 install 子命令安装依赖包,同时为了防止我们输错命令,install 命令还有很多别名: add, i, in, ins, inst, insta, instal, isnt, isnta, isntal, isntall。
执行 install 命令,npm 会下载声明的包和这些包的依赖包,然后将这些包安装到 node_modules 目录中。
# 安装项目package.json中声明的依赖包
npm install

# 在当前目录安装包
npm install <包名称>

# 在全局安装包
npm install -g <包名称>

# 在当前目录安装包并将其添加到 package.json 中的 dependencies 中
npm install --save <包名称>
npm install -S <包名称>

# 在当前目录安装包并将其添加到 package.json 中的 devDependencies 中
npm install --save-dev <包名称>
npm install -D <包名称>

# 在当前目录安装包并将其添加到 package.json 中的 optionalDependencies 中
npm install --save-optional <包名称>
npm install -O <包名称>
3. 检查依赖包更新
在初始化项目时一般会自动使用最新的依赖包,但项目维护时间长了以后可以会有些依赖包需要更新,这时可以使用下面的命令来查看有哪些包可以更新
npm outdated # 查看当前项目中所有可以更新的包
npm outdated sass # 查看指定包的被依赖更新情况
执行后会输出类似下面的信息,依次是包名称(Package),当前版本(Current),推荐版本(Wanted),最新版本(Latest),包保存位置(Location),依赖上级(Depended by)
Package     Current   Wanted    Latest  Location                    Depended by
react       17.0.2    17.0.2    18.2.0  node_modules/react          hefang-blog-docusaurus
react-dom   17.0.2    17.0.2    18.2.0  node_modules/react-dom      hefang-blog-docusaurus
sass        1.49.9    1.72.0    1.72.0  node_modules/sass           hefang-blog-docusaurus
typescript  4.7.4     4.9.5     5.4.3   node_modules/typescript     hefang-blog-docusaurus
4. 更新依赖包
知道了可以更新的依赖包以后可以使用下面的命令来更新依赖包
npm update # 更新所有可以更新的依赖包
npm up # update 的简写
npm udpate # update 别名

npm update 包名1 包名2 # 更新指定的包
5. 重新构建依赖包
rebuild 命令和 install 命令类似都可以重新安装依赖包,但 rebuild 命令会重新编译依赖包,有时候我们在安装依赖包时可能会出现编译错误,这时可以使用 rebuild 命令来重新编译依赖包。
npm rebuild # 重新编译所有依赖包
npm rb # rebuild 的简写
npm rebuild 包名1 包名2 # 重新编译指定的包
6. 依赖审计
6.1 检查依赖漏洞
项目安全非常重要,如果我们使用的依赖包有漏洞,也可能使我们的项目整体变得不安全,我们可以使用下面的命令来审计项目的依赖是否有已被发现的漏洞。
npm audit
如果你的 registry 不是官方的值,则可能会输出下面的错误。可以使用npm audit --registry=https://registry.npmjs.com来指定使用官方的仓库。
npm WARN audit 501 Not Implemented - POST https://registry.npmmirror.com/-/npm/v1/security/audits/quick - [NOT_IMPLEMENTED] /-/npm/v1/security/audits/quick not implemented yet
{
  error: '[NOT_IMPLEMENTED] /-/npm/v1/security/audits/quick not implemented yet'
}
npm ERR! audit endpoint returned an error
命令执行成功以后会输出类似下面的结果,里面包含有漏洞的包名称、版本号、严重程度、漏洞描述和依赖路径。
# npm audit report

@babel/traverse  <7.23.2
Severity: critical
Babel vulnerable to arbitrary code execution when compiling specifically crafted malicious code - https://github.com/advisories/GHSA-67hx-6x53-jw92
fix available via `npm audit fix`
node_modules/@babel/traverse

ip  <1.1.9
Severity: moderate
NPM IP package incorrectly identifies some private IP addresses as public - https://github.com/advisories/GHSA-78xj-cgh5-2h22
fix available via `npm audit fix`
node_modules/ip

postcss  <8.4.31
Severity: moderate
PostCSS line return parsing error - https://github.com/advisories/GHSA-7fh5-64p2-3v2j
fix available via `npm audit fix`
node_modules/postcss
6.2 检查依赖包签名
可以使用下面的命令检查依赖包的完整性,确定是否由于网络等原因导致下载的依赖包不完整导致项目漏洞。
npm audit signatures
6.3 修复依赖漏洞
检查到依赖漏洞以后,如果描述中有 fix available via `npm audit fix,可以使用下面的命令来安装已被修复漏洞的版本的依赖。
npm audit fix
7. 配置 npm
7.1 查看当前配置
npm config list # 查看当前配置信息
npm config ls # ls 是 list 的简写
npm config ls --json # 以json形式查看配置信息
npm config list -l # 查看所有默认配置

npm config get key1 key2 # 查看指定key配置的值
7.2 设置配置值
npm config set key=value key2=value2 # 把指定的key设置为value
npm set key=value key2=value2 # 上面命令的简写
npm config edit # 使用文本编辑器打开配置文件编辑
7.3 删除配置
npm config delete key1 key2
7.4 修复无效配置
npm config fix
上面所有命令都可以添加
--global、-g来查看、编辑、设置、删除全局配置
8. 执行命令
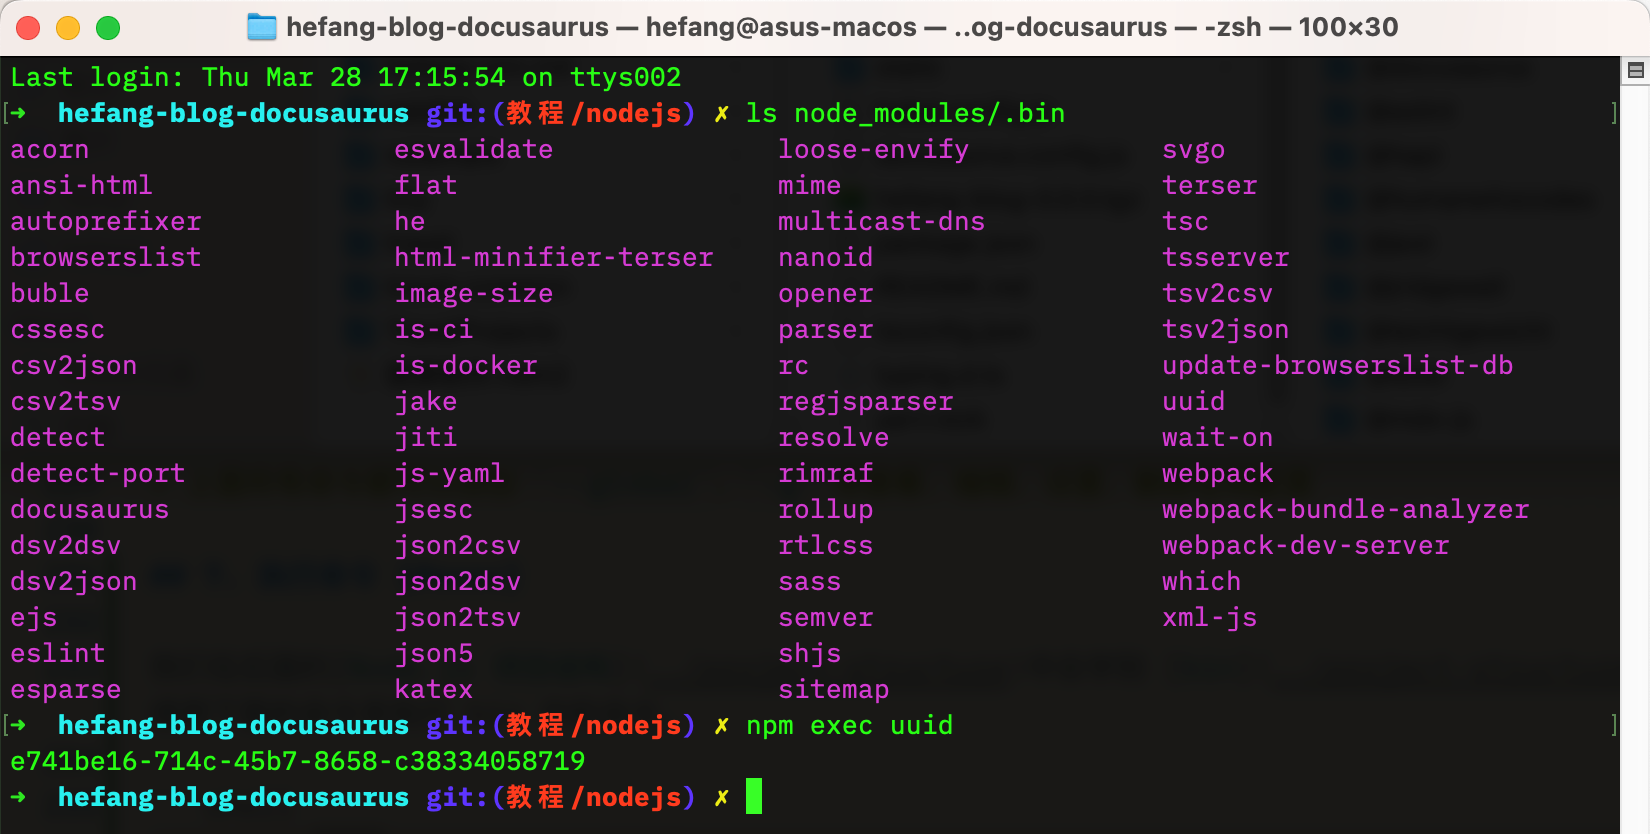
我们在后面的Node.js 项目结构中会学到 bin 字段,如果安装的依赖包配置了 bin,安装时会在 node_modules/.bin 目录下生成一个命令脚本,我们就可以使用下面的命令来执行 bin 中的命令。
npm exec 命令
比如何方的个人小站中的有一个 uuid 依赖,它提供了一个 uuid 命令,我们就可以使用 npm exec uuid 直接运行这个命令。
9. 执行脚本
为了快速执行开发、编译、上传等操作,npm 提供了脚本功能,我们可以把常用的操作定义为脚本,然后使用下面的命令执行。
npm run 命令 # 执行命令
npm start # 相当于 npm run start
npm test # 相当于 npm run test
npm t # npm test 的简写
比如何方的个人小站的项目,我每次写完以后都需要经过 提交代码 → 合并到主分支 → 编译 → 部署 的流程,这时候就可以直接使用脚本把这个程序简化为一个命令。
{
  "name": "hefang-blog",
  "version": "0.0.0",
  "private": true,
  "scripts": {
    "start": "docusaurus start --host=0.0.0.0",
    "build": "docusaurus build",
    "deploy": "bash scripts/deploys/build.sh",
    "commit": "bash scripts/deploys/auto-commit.sh",
    "commit-deploy": "yarn run commit && yarn run deploy",
    "merge": "bash scripts/deploys/merge2master.sh",
    "merge-deploy": "yarn run merge && yarn run deploy"
  }
}
上面是何方的个人小站项目的 package.json 文件的部分内容,当需要提交代码部署的时候我只需要执行 npm run merge-deploy,就可以自动把当前分支的代码提交了,合并到主分支,编译并部署到服务器上。
10. 发布包到仓库
发布包到仓库涉及命令较多,我们把它单独做为一个章节:6. 发布包到仓库